Getting started with 2.6 mm fuse beads | Tools and the basic process
To make 2.6 mm mini fuse bead art, you need a pattern, beads, a pegboard, tweezers, ironing paper and a household iron. For a first project, start small, at around 29 beads square.
Tools you need
- A 2.6 mm pegboard (e.g. 29 × 29 pegs; pegboards are specific to bead size)
- 2.6 mm fuse beads (in the colors your pattern uses)
- Tweezers (fine-tipped)
- Ironing paper (or parchment paper)
- A household iron
- A pattern (printed on paper or shown on your phone)
How it works, step by step
- Get a pattern (a free pattern, or make one from a photo in the Pattern Maker)
- Sort the beads into small dishes by the pattern's color codes
- Place beads on the pegboard one row at a time, starting from the edge of the pattern
- Once all the beads are placed, cover them with ironing paper and iron on medium heat
- While it's still hot, cool it under a weight, then remove it from the pegboard
- If you like, lightly iron the back too to finish
Choosing your first pattern
To start, a pattern of about 20–30 beads square with 5–10 colors is a good size and takes 1–2 hours to finish. Once you get the hang of it, try a photo pattern of 50 beads square or more.
Tips for placing beads
- Start with the outline (edge) colors rather than the most-used color, so everything stays lined up
- Keep the pegboard still and turn the pattern instead, to avoid mistakes
- If you take a break, cover the pegboard with a cloth so the beads don't go flying
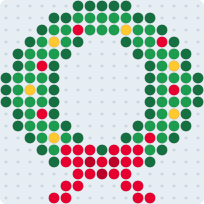
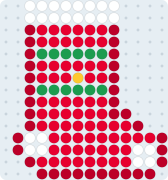
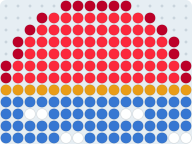
Try one of these patterns



FAQ
What age is it suitable for?
It contains small parts, so it's recommended for ages 6 and up. An adult should do the ironing.
How long does one piece take?
Roughly 1–2 hours for 29 beads square (about 800 beads) and 4–6 hours for 52 beads square (about 2,700 beads).